Lathe
Formation with this technique is done by creating a three-dimensional model of revolution symmetrical or lathe techniques. The difference in these two models on the materials used if the model results were made using clay round plastic playing techniques are models made of plaster lathe turner. Advantages models use a cast material shrinkage is not a model and the shape will not change so much beneficial and can be used for doubling the plaster mold.
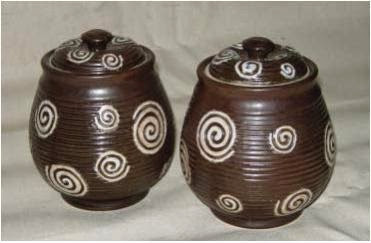
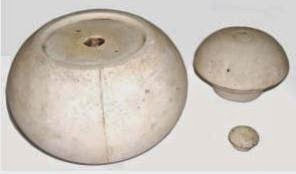
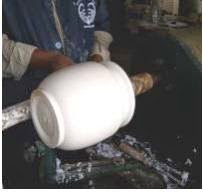
Figure 8:45. Print lidded jar pour.The model can be made of material that casts turner or plastic clay material is rotated, the following examples are some models of three-dimensional form results roll technique or techniques lathe lathe techniques.
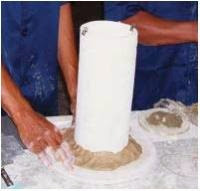
Figure 8:46. Modeling clay and gipssProcess Modeling Tool
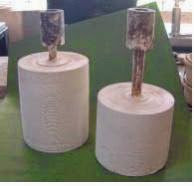
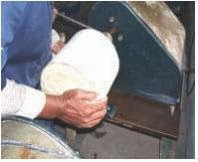
Process modeling is done using a lathe (lathe turning reversible) in a way that has given a cast lathe shaft / tapered iron, the tapered shaft will be installed in the space available on a lathe.
1 Prepare lenoleum to make the model will cylindrical objects with diameters in the size of the model, enter axle / axles tapered iron for binding the model to the lathing process.
2 Attach the clay as a lock on the outside of the base, as well as to avoid leaking of plaster of paris. Then place it as an iron right in the middle of the cylinder.
3 Make plaster of paris according to the size specified ,. Stir flour until mixed evenly casts and make sure there are no lumps of plaster. If the dough feels heavy cast immediately pour the mold lenoleum.
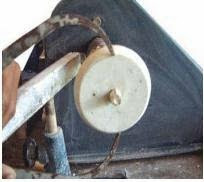
4. cylindrical workpiece casts with tapered shaft which was installed amid ready mounted on a lathe to make the model.
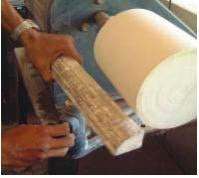
5. Fit models will be shaped as a cylinder at the position you have available, tighten firmly using the key.
6 Adjust the position of the tool by turning the key buffer amplifier
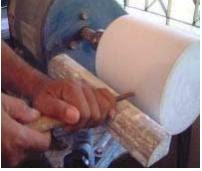
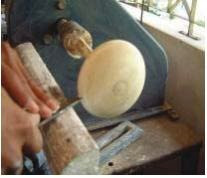
7 Align the outer layer of the workpiece using a small chisel lathe by rotating slowly.
8 Establish a workpiece using a knife lathe work according to the design drawings. At the time of forming always control the size of the diameter using a caliper
9. Controlled workpiece shapes and sizes using a caliper to fit the size of the working drawings.
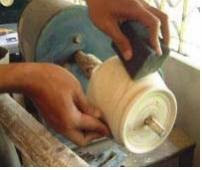
10 If you have been in accordance with the size of the working drawings, puree using waterproof sandpaper and wet with a sponge.
11. Take cover and knob models of objects that will dubuat with working steps such as making models for body objects.
12. Make Pointed to the backing by means of measuring the diameter at the top and bottom of the workpiece, then bubutlah appropriate design. After finished install each thin in position and strengthen the use of nails.
